

Professional Interior Painting Hamilton: Why Preparation Matters
When homeowners think about having a room painted, colour is usually the first thing that comes to mind.
But the quality of a finished paint job often depends just as much on what happens before the paint goes on the walls.
For professional interior painting in Hamilton, preparation means inspecting the existing surfaces, protecting the home, making necessary repairs and creating the right surface for the new paint.
Some rooms need very little preparation. Others require considerably more work before they’re ready for paint.
Here are some of the steps that can make the difference between simply changing the colour of a room and achieving a professional-looking finish.
You can learn more about our Interior Painting Services…
1. We Start by Looking at the Existing Walls
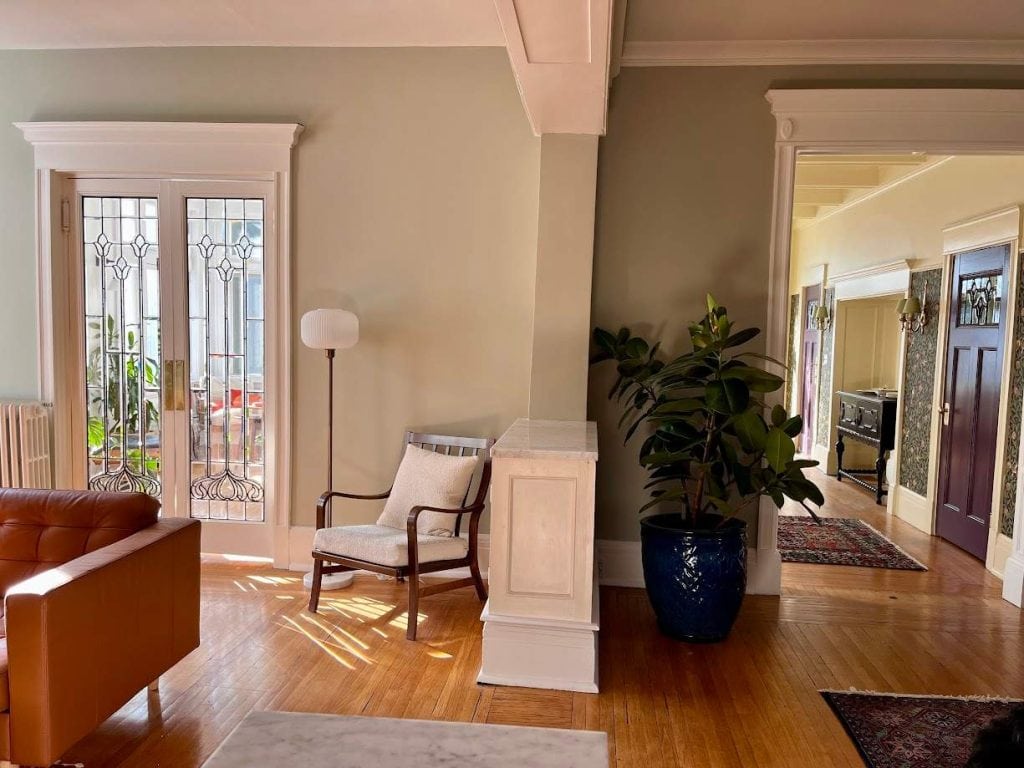
Not every wall needs the same amount of preparation.
Before painting begins, we look for nail holes, dents, cracks, previous repairs, peeling paint and other imperfections that could affect the finished surface.
We also consider the existing paint and its sheen. Glossy surfaces, for example, may require additional preparation to promote proper adhesion.
A relatively new wall in good condition may need very little repair. An older home, a heavily used room or a wall with previous repairs can require considerably more attention.
Understanding what we’re starting with helps determine what needs to happen next.
2. Protecting the Home Is Part of the Preparation
Preparation isn’t limited to the walls.
Floors, furniture and other surfaces that aren’t being painted need to be protected before work begins.
Furniture may need to be moved away from the walls or out of the room. Floors are protected, and fixtures and other items are covered or removed as required.
Creating an organized work area also allows our painters to work efficiently while helping protect the homeowner’s property throughout the project.
If you’re preparing for a bedroom repaint, we’ve also put together a guide on How to Prepare for Bedroom Painting Project in Burlington, Ontario
3. Wall Repairs Need to Be Done Properly
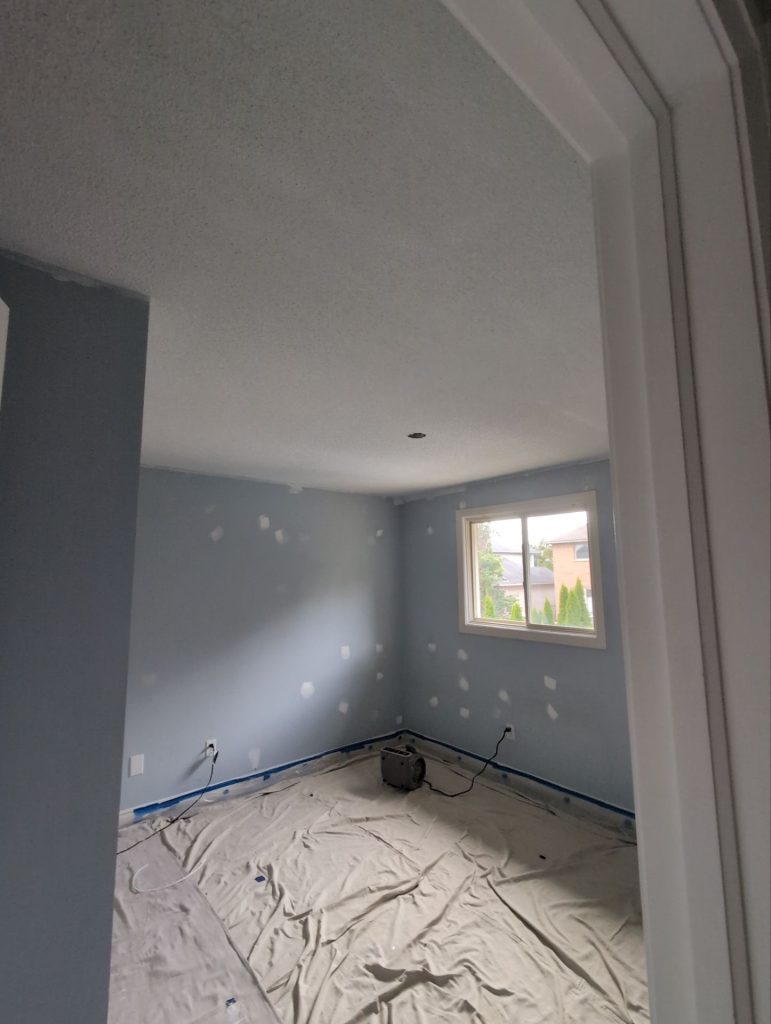
Nail holes and minor dents are common, but we also encounter cracks, damaged drywall and old repairs that need additional attention.
Simply filling a damaged area isn’t always enough.
Repairs need to be filled, allowed to dry and sanded so they blend into the surrounding wall. Larger or deeper repairs may require more than one application.
The objective is to make the repair as unobtrusive as possible once the finish paint is applied.
This becomes especially important with higher-sheen paints. As the sheen increases, the surface reflects more light, which can make dents, ridges, sanding marks and poorly finished repairs much easier to see.
Good preparation helps minimize these imperfections and creates a more consistent surface before the finish paint is applied.
4. Sanding Helps Create a Better Surface
Sanding is another important part of interior painting preparation.
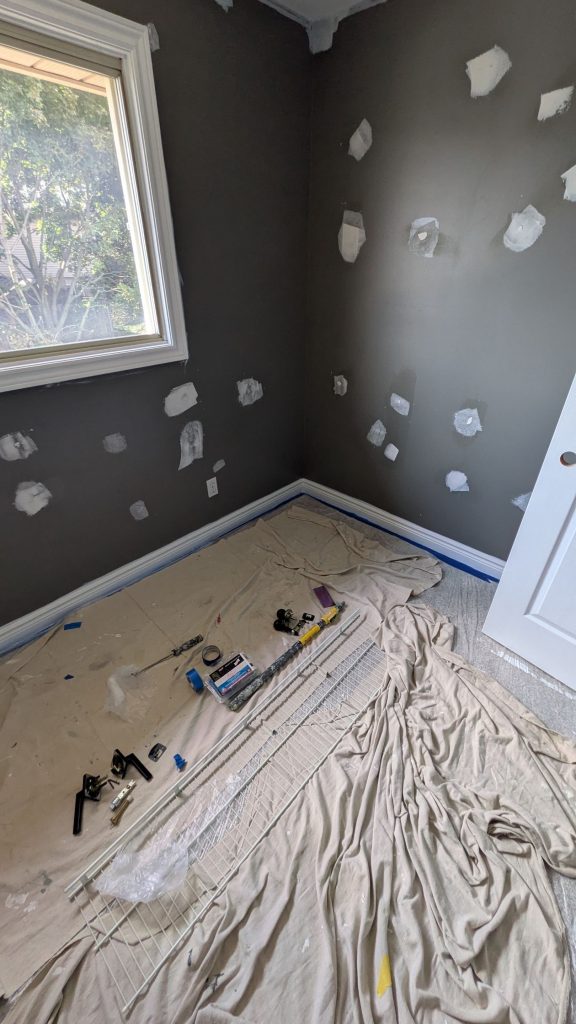
It helps smooth repaired areas, remove small imperfections and reduce rough or uneven surfaces that could show through the finished paint.
Depending on the existing coating, sanding can also help prepare glossy surfaces for the next coating.
That doesn’t mean every square inch of every wall needs aggressive sanding. The amount of sanding depends on the existing condition of the surface and the finish we’re trying to achieve.
The goal is to identify the areas that need attention and prepare them appropriately.
5. Primer Has a Specific Job
Not every previously painted wall needs a full coat of primer.
However, primer plays an important role when we’re dealing with new drywall, repairs, stains, significant colour changes or surfaces where adhesion may be a concern.
Drywall repairs often need to be spot primed. Without primer, the repaired areas can absorb the finish paint differently from the surrounding wall and remain visible after painting.
Stains and other problem areas may require a specialty primer designed specifically for that condition.
Choosing the correct primer matters too. Different primers are designed to solve different problems, so simply applying any primer isn’t necessarily the answer.
Using the right primer in the right situation helps create a sound, consistent surface for the finish paint.
6. Caulking Can Make a Big Visual Difference
Small gaps can become surprisingly noticeable after fresh paint is applied.
Where appropriate, caulking can help create cleaner transitions around trim, door frames, baseboards and other painted surfaces.
Like other preparation work, caulking needs to be done carefully. Applying too much can look just as noticeable as leaving a gap unfilled.
It’s one of those details homeowners may not immediately notice when it’s done correctly — but will often notice when it isn’t.
7. Paint Needs a Clean, Sound Surface
Paint performs best when it’s applied to a clean, sound surface.
High-touch areas and rooms such as kitchens can accumulate dirt, grease and other contaminants over time. Painting directly over these surfaces can affect adhesion and the appearance of the finished coating.
When necessary, surfaces need to be cleaned before sanding, priming or painting begins.
We also need to determine whether the existing coating is sound enough to paint over. Loose, peeling or poorly adhered paint needs to be addressed rather than simply covered with another coat.
Professional preparation isn’t about performing the same steps in every home. It’s about determining what that particular surface needs before applying the new coating.
8. Lighting and Paint Sheen Can Reveal Imperfections
Fresh paint doesn’t hide every defect in a wall. In some situations, it can actually make existing imperfections more noticeable.
Natural light from a large window or light travelling across a wall can highlight dents, ridges and previous repairs.
Paint sheen also makes a difference.
Generally, the higher the sheen, the more light the painted surface reflects. That reflected light can emphasize imperfections that might be much less noticeable with a flatter finish.
This is one reason wall condition should be considered when choosing a paint sheen — particularly on large walls or surfaces exposed to strong natural or directional light.
Preparation and product selection work together to achieve the best possible finished appearance.

9. Good Preparation Makes the Finish Paint Look Better
Once preparation is complete, the finish paint gets most of the attention.
But the paint can only perform as well as the surface underneath it allows.
Smooth repairs, sound existing coatings, appropriate priming and careful preparation all contribute to a cleaner and more consistent finished appearance.
This doesn’t mean every wall in an older home will become perfectly flat or look like new drywall. Existing homes have character, previous repairs and normal surface variations.
The goal is to identify and address the imperfections that reasonably affect the appearance of the finished project.
That’s an important distinction between simply applying paint and professionally preparing and painting a room.
What Should Homeowners Expect From Professional Interior Painting?
Professional painting involves more than applying two coats of paint.
A painter should understand the condition of the surfaces, determine the appropriate preparation, choose suitable primers and coatings, protect the surrounding areas and complete the work with attention to the finished appearance.
Some rooms require relatively little preparation. Others may need significant repairs before they’re ready for paint.
That’s why homeowners comparing painting estimates should look beyond the number of rooms and coats of paint.
Ask what’s included in the preparation.
Two estimates that appear to cover the same rooms may represent very different amounts of work depending on how each contractor plans to prepare the surfaces.
Considering Professional Interior Painting in Hamilton?
If you’re planning to repaint your home, take a close look at what’s included before the painting begins.
The quality of the finished project starts long before the first finish coat goes on the wall.
At DW Painting & Wallpapering Inc., we provide professional interior painting throughout Hamilton, Ancaster, Dundas, Burlington and surrounding communities.
You can learn more about our Interior Painting Services, or Book a Consultation to discuss your upcoming project.
Painting is Our Trade – Not Our Hobby.