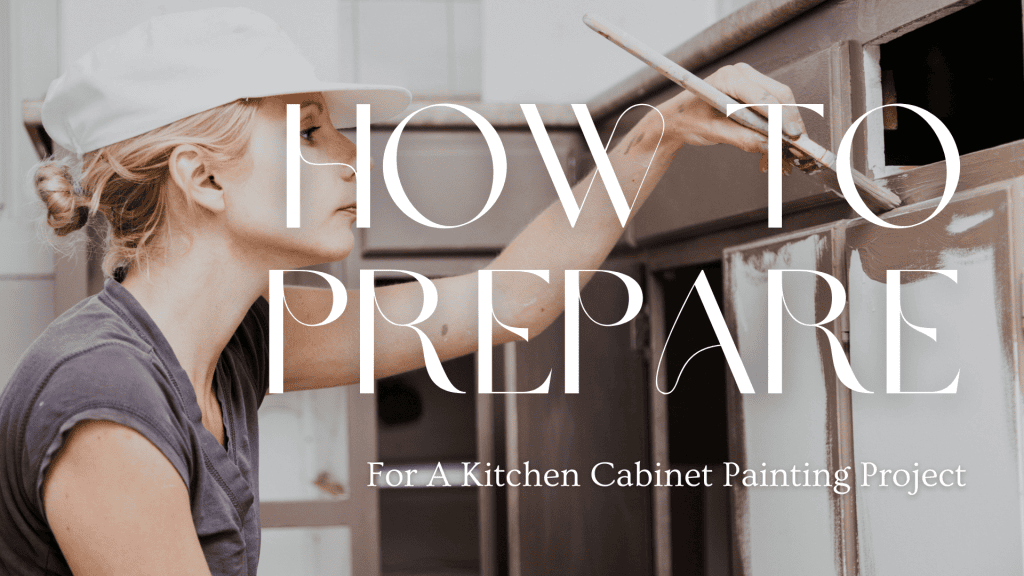
How To Prepare For A Kitchen Cabinet Painting Project in Burlington, Ontario
Kitchen cabinet painting is one of the most effective ways to refresh your kitchen without the need for a full renovation.
It’s a project that, with the right preparation, can transform your space and give it a whole new look.
However, to achieve desired results, it’s not just enough that you have the drive to do it – you also have to do the work, especially in the preparation process!
So, to help you with that, here’s How To Prepare For A Kitchen Cabinet Painting Project.
1. Plan The Project
The foundation of every successful painting project is a rigorous and thorough planning process.
Planning your project ahead of time will significantly improve your process later on, smoothening out any possible rifts in your project before they even have the time to escalate.
So, to start, you’ll want to decide on the look you’re trying to achieve with your project.
This will essentially decide the other necessary element for your painting project – the paint, and your painting materials.
Gathering the materials you’ll need for your project is also another necessary part of your planning and preparation – so here’s a few tips to keep in mind!
- Paint Type: For kitchen cabinets, a durable paint that can withstand frequent cleaning is essential. Semi-gloss and satin finishes are popular choices because they offer a nice sheen and are easy to clean. Additionally, consider using a high-quality latex or oil-based paint, as these provide a durable finish suitable for the kitchen environment.
- Tools and Materials: Ensure you have all the necessary materials before starting. This includes paint, primer, brushes, rollers, painter’s tape, drop cloths, sandpaper, and cleaning supplies. It’s also worth investing in a quality paint sprayer if you want a super-smooth finish, especially for larger kitchens.
- Color Selection: Take your time choosing the right color. Consider the overall color scheme of your kitchen, including countertops, backsplash, and flooring. Test a few paint swatches on your cabinets to see how they look in different lighting throughout the day.
2. Cleaning and Prepping the Cabinets
Another kind of preparation essential for your upcoming painting project is proper surface preparation.
Your kitchen cabinets are exposed to grease, dirt, and grime over time, which can affect your paint’s overall quality if not removed.
Here’s how to start your surface preparation process:
- Deep Cleaning: Start by removing all cabinet doors, drawers, and hardware. Use a strong degreaser or a mixture of warm water and mild detergent to clean all surfaces thoroughly. Make sure to check around your handle and edges, as these are areas where grease tend to accumulate.
- Sanding: After cleaning, it’s time to sand the cabinets. Sanding helps to roughen the surface, allowing the primer and paint to adhere better. Use medium-grit sandpaper (around 120-150 grit) for this step. Be sure to sand all surfaces evenly, including the doors, drawer fronts, and the cabinet frame.
- Repairing: Check for any damage, such as nicks, scratches, or holes. Fill these with wood filler and sand smooth once dry. This step is crucial for achieving a flawless finish.
- Labeling: Label each door and drawer as you remove them, and keep all hardware in labeled bags. This will make reassembly much easier once the painting is complete.
3. Priming the Cabinets
You should remember that priming is a step you shouldn’t skip.
A good primer not only provides a base for the paint to adhere to but also helps to block stains and tannins that can bleed through the paint, especially on wooden cabinets.
In doing this, apply the primer with a brush and roller, or use a paint sprayer for a smooth, even coat.
Make sure that you’ve completely covered all surfaces, including the edges and corners.
After application, allow the coat to dry completely according to the manufacturer’s instructions before moving on to your next step.
4. Painting the Cabinets
Now comes the exciting part – painting!
This is where your kitchen space starts to transform – but not without a few painting tips to follow and keep in mind.
- Proper Process: Begin by painting the back of the doors and drawer fronts first, then move on to the front surfaces. Use a high-quality brush for corners and edges, and a roller or sprayer for flat surfaces. Apply your paint using thin coats for a smoother paint finish and easier process to rectify any possible mistakes.
- Drying Time: Patience is key here. Allow each coat to dry thoroughly to prevent smudging or streaking. This step might take some time, but it’s crucial for achieving a professional look.
- Light Sanding Between Coats: After each coat dries, lightly sand the surfaces with a fine-grit sandpaper (around 220 grit). This helps to smooth out any brush strokes or imperfections and ensures that the next coat adheres well.
If you need painting services in Ontario, contact DW Painting & Wallpapering Inc. to get the best results.
We are the premier Residential Painting and Wallpapering contractors in the Greater Hamilton area and have been beautifying homes in the Greater Hamilton and Burlington area for over 20 years.
Related: Handy Tips For Painting A Small Gaming Room in Burlington, Ontario
Choosing A Paint Color For Your Living Room Cabinets in Burlington, Ontario