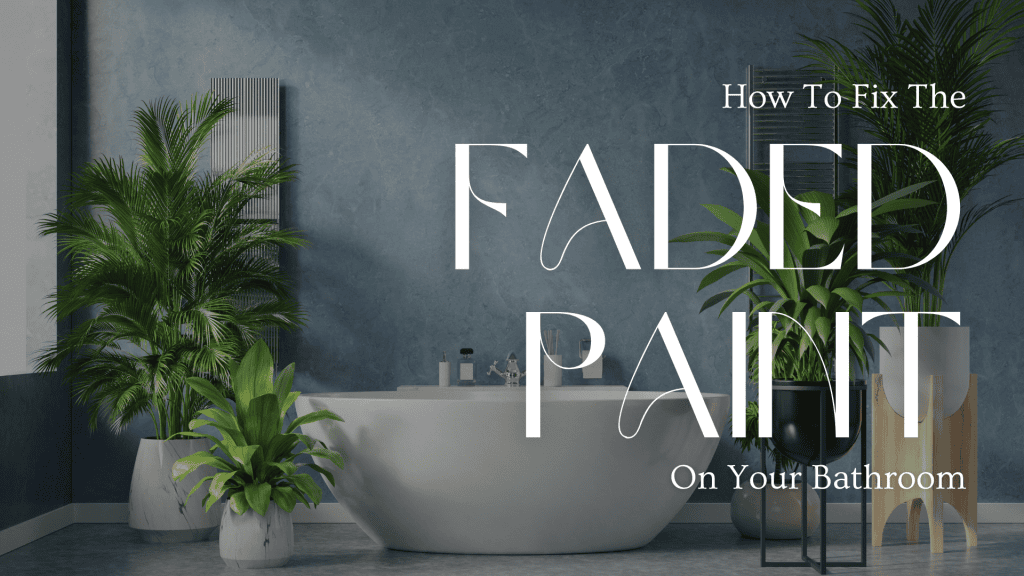
How To Fix The Faded Paint On Your Bathroom in Hamilton, Ontario
The bathroom is one of the most used spaces in your home, and over time, the paint on its walls can start to fade due to high humidity, frequent cleaning, and general wear and tear.
If you’re tired of staring at dull or peeling walls, don’t worry—it’s easier than you think to refresh your bathroom and make it look as good as new!
To start your makeover, here’s How To Fix The Faded Paint On Your Bathroom.
1. Understand Why the Paint Has Faded
Before diving right into your latest painting project, you’ll want to find out and understand why the paint on your bathroom has faded in the first place.
This will help you understand the problem better, and come up with the best approach to tackle this, ensuring that the issue won’t recur again.
Your bathroom paint fades due to a number of reasons, such as:
- Humidity: Bathrooms are naturally humid spaces, and excessive moisture can cause paint to lose its vibrancy or peel over time. Poor ventilation might be the culprit.
- Incorrect Paint Type: If the wrong type of paint (e.g., matte or non-moisture-resistant paint) is used, it’s more likely to fade or deteriorate.
- Frequent Cleaning: Over-scrubbing or using harsh chemicals can strip the paint of its finish, especially if it wasn’t designed to withstand such cleaning.
- Sunlight Exposure: If your bathroom has windows, prolonged exposure to sunlight can fade the paint.
- Old Age: Sometimes, your paint just naturally ages over time, which just means that it’s due time for a fresh coat of paint.
2. Prep the Space Thoroughly
After thoroughly inspecting the faded paint on your bathroom, the next step is to prep the space for a painting project.
Every painting project needs to have a proper preparation beforehand since this will be crucial to preventing paint issues, such as faded paint, down the line.
In doing this, you’ll want to:
- Clean the Walls: Bathrooms collect soap scum, grime, and even mildew. Use a mixture of mild detergent and water to scrub the walls clean. For mildew, add a bit of bleach to the solution.
- Repair Damage: Inspect your walls for cracks, peeling paint, or holes. Fill holes with spackle, scrape off peeling paint, and sand everything smooth.
- Protect Surroundings: Cover your sink, toilet, shower, and floor with drop cloths or plastic sheets. Use painter’s tape to mask off edges, fixtures, and trim.
3. Choose the Right Paint
In fixing the faded coat on your bathroom walls, you’ll want to invest the appropriate, high-quality paint.
High-quality paint are formulated to last long, and thus, will essentially ensure that your bathroom won’t be looking dull and faded anytime soon.
Additionally, getting the right kind of paint for your bathroom is important for compatibility, saving you from other kinds of paint issues down the line.
Typically, you’ll want to have:
- Moisture-Resistant Paint: With the kind of environment your bathroom typically has, choose a semi-gloss or satin finish designed to withstand high humidity. These will be easier to clean and less likely to peel early.
- Mold-Resistant Paint: To avoid dealing with nasty mold growth in your bathroom space, get a mold-resistant paint.
If you’re unsure which paint is best for your needs, ask for recommendations at your local hardware store.
4. Prime Before Painting
Primer is an essential material in repainting the faded paint on your bathroom.
In this case, primer helps create a clean base for your new coat of paint, resulting in a vibrant and bright finish that is less likely to fade anytime soon.
Additionally, in most cases, early paint fading can be attributed to a lack of primer application prior to painting.
So, while this adds an extra step to your already lengthy process, priming is worth the effort for a bathroom space that is vibrant, bright, and built to last for years to come.
5. Apply Your Fresh Paint
Now that you’ve checked off all the preliminaries, it’s now time for the fun part: painting your bathroom!
To ensure great results, you’ll want to follow some pro painting tips, such as:
- Painting the Ceiling First: If you’re painting the ceiling, do it before tackling the walls to avoid drips on freshly painted surfaces.
- Using Quality Tools: A good roller and angled brush can make your job easier and ensure even coverage.
- Applying Thin, Multiple Coats: Apply two or three thin coats of paint instead of one thick one. This prevents streaks and ensures better adhesion.
- Allowing Proper Drying Time: Let each coat dry completely before applying the next. Follow the manufacturer’s recommendations for drying times.
If you need painting services in Ontario, contact DW Painting & Wallpapering Inc. to get the best results.
We are the premier Residential Painting and Wallpapering contractors in the Greater Hamilton area and have been beautifying homes in the Greater Hamilton and Burlington area for over 20 years.
Related: Mini Paint Projects To Elevate Your Home Exterior in Hamilton, Ontario
Safety Painting Tips For Your Roof Painting Project in Burlington, Ontario
